Preparing Your Wellington Home Exterior for Painting – A Complete Guide
1. Introduction
A successful exterior paint job starts long before the first brushstroke. Proper surface preparation is the key to durability, weather resistance, and a professional finish.
In Wellington, where homes face salty coastal air, high winds, and heavy rain, preparation is even more critical. Skipping essential steps like cleaning, sanding, or repairing can lead to peeling, fading, or early paint failure.
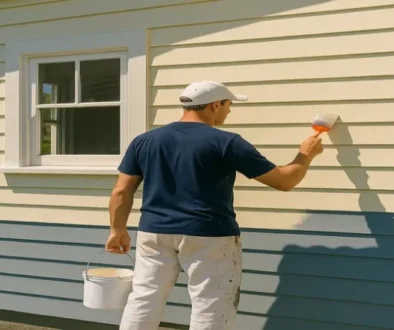
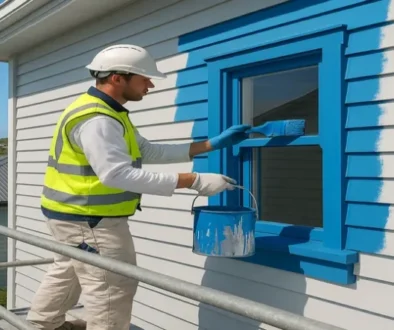
In this guide, AAA Painters walks you through the step-by-step process of preparing your home exterior for painting. Whether you’re planning a DIY refresh or hiring professionals, these tips will ensure your home is ready for a flawless transformation.
2. Step 1: Clean the Surfaces Thoroughly
The first step is to remove dirt, dust, and contaminants that prevent paint from adhering.
- Pressure wash or soft wash your exterior to remove grime, mould, and mildew.
- Use a mild detergent or exterior cleaning solution for stubborn spots.
- Pay extra attention to gutters, fascias, and window frames, where dirt accumulates.
Pro tip: If your home is near the Wellington coastline, wash off salt deposits to prevent corrosion and peeling.
3. Step 2: Inspect and Repair Surfaces
Before painting, inspect your home for damage or deterioration. Common issues include:
- Cracks in weatherboards or stucco
- Peeling or flaking old paint
- Rotting timber or rusty metalwork
Repair or replace damaged sections before painting. For timber homes, fill gaps and holes with exterior-grade filler and sand smooth. For masonry homes, repair cracks to prevent moisture from entering.
Pro tip: Fixing these issues early extends the life of your paint job and protects against Wellington’s harsh weather.
4. Step 3: Scrape, Sand, and Remove Loose Paint
Paint adheres best to smooth, stable surfaces.
- Scrape away all loose, peeling, or blistering paint.
- Sand edges to create a smooth transition between old and new paint.
- For lead-based paints (common in older Wellington homes), use safe removal methods or hire a professional.
Pro tip: This step is time-consuming but essential. A well-prepared surface ensures even coverage and a longer-lasting finish.
5. Step 4: Mask, Cover, and Protect Surroundings
Preparation isn’t just about the house—it’s also about protecting your surroundings.
- Cover plants, decks, and outdoor furniture with drop cloths or plastic sheets.
- Mask windows, doors, and trims to prevent accidental paint splatters.
- Remove or cover light fittings and outdoor fixtures.
Pro tip: Investing time in protection reduces cleanup effort and ensures a neater, more professional result.
6. Step 5: Apply Primer Where Needed
Priming prepares your surfaces for maximum paint adhesion and durability.
- Apply primer to bare wood, new repairs, or high-exposure areas.
- Use a stain-blocking or weather-resistant primer for Wellington’s coastal conditions.
- For dark-to-light colour changes, a tinted primer helps with coverage.
Pro tip: Never skip priming problem areas—it prevents peeling and uneven colour and ensures your topcoat lasts for years.
7. Conclusion & Call to Action
Proper preparation is the foundation of any long-lasting exterior paint job. By cleaning, repairing, sanding, and priming your home, you’ll protect against Wellington’s challenging weather and achieve a professional finish.
If this process feels overwhelming, let AAA Painters handle it for you. Our expert team delivers end-to-end exterior painting services, including full preparation, premium materials, and weatherproof finishes.
Book your free, no-obligation quote today and give your Wellington home a beautiful, durable makeover this season.
Ready to Find the Perfect Colour for Your Home?
Let our experienced team at AAA Painters help you pick the perfect shades for every room in your house. Contact us today for a colour consultation and bring your vision to life.


